The WidelCode CLI and VS Code Extension Are Now Available
The WidelCode CLI is on npm and the VS Code extension is on the Marketplace and Open VSX. Install steps, sign-in, safety defaults, CI use and current limits.
WidelAI Team
Building the future of AI accessibility
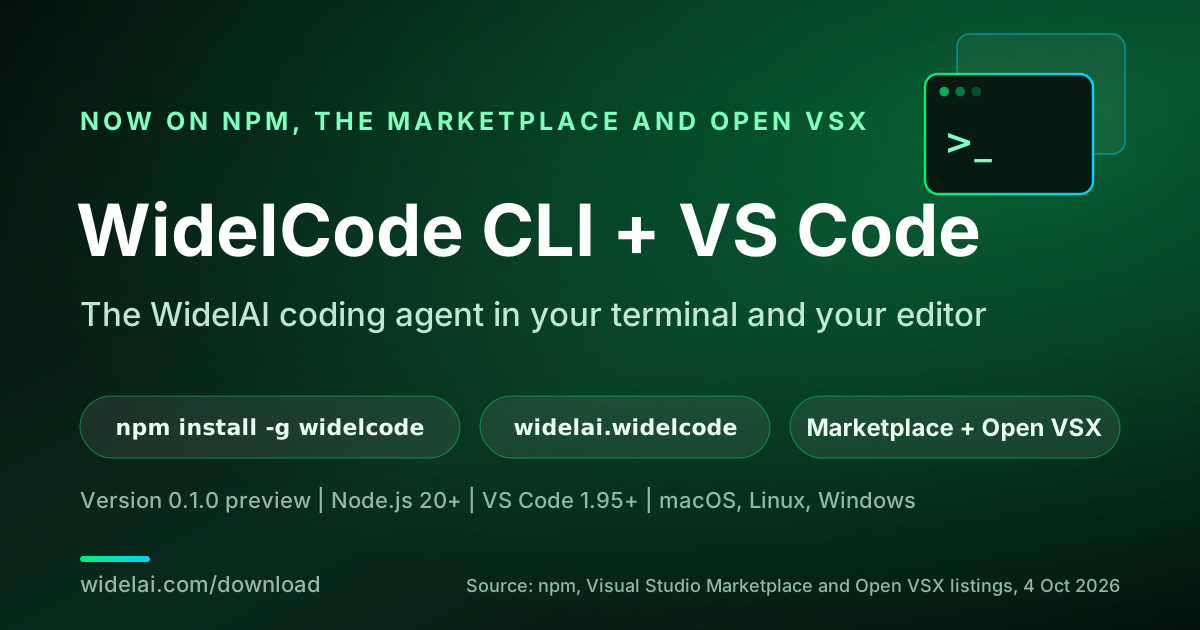
The WidelCode CLI and VS Code extension are out. The CLI is on npm as widelcode. The extension is on the Visual Studio Marketplace and Open VSX as widelai.widelcode. Both are version 0.1.0, published on October 4, 2026, and both are labelled preview.
Until now the full local agent needed the Mac app. The CLI and the extension run the same agent in a terminal or an editor on macOS, Linux and Windows. They use the same WidelAI account and the same credit balance. Sessions from every client show up together under Sessions.
This post covers what shipped, how to install each package, the defaults that keep the agent in bounds, how to use the CLI in CI, and what this first release does not do yet. All install links are on the download page.
What Shipped
There are two packages, and the extension is published to two registries:
| Package | Registry | Install | Requires |
|---|---|---|---|
| WidelCode CLI | npm: widelcode | npm install -g widelcode | Node.js 20 or newer |
| WidelCode for VS Code | Visual Studio Marketplace | code --install-extension widelai.widelcode | VS Code 1.95 or newer |
| WidelCode for Cursor, VSCodium, Kiro and other compatible editors | Open VSX | Search widelai.widelcode in the Extensions view | A VS Code 1.95-compatible editor |
Each package updates through its own registry. Run npm install -g widelcode again to update the CLI. VS Code checks the Marketplace and updates extensions automatically by default. Editors that use Open VSX update from there.
Both packages are free to install. Generating responses needs an active WidelAI plan, the same as on the web and in the Mac app.
Install the CLI
The CLI needs Node.js 20 or later. Node 20 itself has reached end of life on the Node.js release schedule, so install a supported LTS line such as Node 24 if you are setting up a new machine.
-
Install the package.
npm install -g widelcode -
Sign in.
widelcode loginThis opens your browser on the WidelAI device approval page. Check that the code matches the one in your terminal, then approve. On a machine with no browser, such as an SSH session, run
widelcode login --no-browserand open the printed link on any device. -
Start a session in a project.
cd your-project
widelcode
Your sign-in is stored in ~/.widelai/credentials.json with file mode 0600. widelcode logout removes it, and widelcode whoami shows which account you are using. You need a WidelAI account first. If you do not have one, sign up here.
Install the VS Code Extension
In VS Code, open the Extensions view, search for WidelCode, and check that the publisher is WidelAI before installing. You can also install it from a terminal by its ID:
code --install-extension widelai.widelcode
Then:
- Open the WidelCode view in the activity bar.
- Run WidelCode: Log in from the Command Palette and approve the sign-in in your browser.
- Open a folder and type what you want done.
Cursor, VSCodium and Kiro use Open VSX
Several VS Code-compatible editors cannot use Microsoft's Marketplace, so they install extensions from the Eclipse Foundation's Open VSX registry. Cursor, VSCodium and Kiro all document Open VSX as their default. WidelCode is published there under the same widelai.widelcode ID and version. In any of these editors, search for the ID in the Extensions view.
What the extension adds over the CLI
The agent is the same. The extension wraps it in editor features:
- A chat view that shows every step as the agent reads, searches, edits and runs your build and tests.
- A diff for every edit, which you can open before keeping it.
- WidelCode: Revert last checkpoint undoes the last run, including changes made by commands it ran.
- Apply worktree changes to working copy and Open pull request from worktree commands for agent work done on a separate branch.
- A Cloud runs view to start, follow and open cloud runs without leaving the editor.
Its settings mirror the CLI flags. widelcode.model sets the model, and widelcode.permissionMode takes ask, acceptEdits or fullAuto. widelcode.budgetCredits sets a per-run credit budget, and widelcode.sandbox and widelcode.worktree are both on by default.
Using the CLI Day to Day
Running widelcode in a project starts an interactive session. Type requests in plain language. A few slash commands change how the session behaves:
| Command | What it does |
|---|---|
/model [id] | Show or switch the model |
/mode [ask|acceptEdits|fullAuto] | Set how much the agent may do without asking |
/budget [credits|off] | Stop a run once it has spent this many credits |
/agent [name|none] | Use a custom agent from .widelai/agents |
/worktree [status|apply|merge|pr|discard] | Manage the separate branch the agent works on |
/revert [id] | Restore the latest checkpoint, or a given one |
/cost | Show the credits the last run spent |
Press Ctrl+C to stop a run. Press it twice within two seconds to quit.
For a single task, pass the prompt with -p and the CLI exits when the run finishes:
widelcode -p "fix the failing test"
You can choose the model per prompt. Use --model on the command line or /model inside a session. Model IDs are listed on the models page, and every credit rate is in the transparency hub. For example, the GPT-6.1 Sol post runs the CLI on gpt-6.1-sol.
Running It in CI
The CLI also works headless. A CI job cannot approve a browser sign-in, so it uses a personal access token instead:
- In WidelAI, open Settings → Developer access and create an access token. The full token is shown only once, so copy it straight into your CI provider's secret store.
- Expose it to the job as
WIDELAI_TOKEN. - Run a one-shot prompt with explicit permissions and a budget:
widelcode -p "update the changelog for this release" --mode fullAuto --budget 5
widelcode -p "summarise this repository" --output json
Two rules make headless runs predictable. First, with -p, any side effect needs either --mode fullAuto or --yes. A forgotten flag leaves the job unable to edit or run commands, rather than silently giving it full control. Second, the exit code is 0 only when the run succeeds, so you can gate a pipeline step on it.
Treat the token like any other deploy credential. Scope it to the job that needs it, and revoke it from the same settings page when the job is retired.
What Keeps the Agent in Bounds
An agent that edits files and runs commands as you needs firm limits. These are the defaults in both packages.
Permission modes
ask: every edit and every command asks first.acceptEdits(default): edits go ahead freely, and commands that are not clearly safe ask first.fullAuto: nothing asks, except commands that would run outside the sandbox.
Command sandbox
On macOS (Seatbelt) and Linux (bubblewrap, when installed), commands can only write inside the project. If you pass --no-sandbox, every command asks before it runs, in every mode. Windows has no command sandbox yet, so the CLI treats every command there as unsandboxed and asks first.
A separate branch
In a git repository, the agent works on its own branch in a separate git worktree. Your checkout is untouched until you apply, merge or open a pull request. Pass --no-worktree to edit in place.
Checkpoints
Each run is checkpointed before it starts. /revert in the CLI, or WidelCode: Revert last checkpoint in VS Code, restores the files, including changes that came from commands the agent ran.
Project code runs only after you trust it
Hooks and MCP servers defined in a repository are code that runs on your machine. WidelCode lists them and runs them only after you trust the project, either by answering the prompt or with --trust. If a trusted project's hook or MCP configuration changes, it has to be trusted again.
The defaults favour review over speed. In a repository you do not know, start in
askmode and read the diffs. Once you trust it, move toacceptEdits.
Your Project's Setup Carries Over
WidelCode reads the instruction files most repositories already have: AGENTS.md, CLAUDE.md and .widelai/rules/*.md. Skills, custom agents, hooks and MCP servers live under .widelai/. Personal defaults go in ~/.widelai/ with the same layout.
These are the same files the Mac app reads, so a repository set up for one client works in all of them. A custom agent defined in .widelai/agents is available from the CLI with --agent, inside a session with /agent, and in VS Code.
Cloud Runs From the Terminal and Editor
Some tasks are better run away from your laptop. A cloud run clones a GitHub repository into an isolated container, works on a branch and opens a pull request when it finishes:
widelcode cloud run --repo your-org/your-repo --prompt "add pagination to GET /users" --follow
widelcode cloud list
widelcode cloud logs <id> --follow
widelcode cloud diff <id>
widelcode cloud pr <id>
widelcode cloud stop <id>
In VS Code, WidelCode: Start cloud run starts the same run, and the Cloud runs view follows it. Connect GitHub once from the WidelAI app before your first cloud run. Container time bills at 0.5 credits per minute on top of the model's token rates, and both count toward the run's budget.
What It Costs
Installing either package costs nothing. Runs spend credits from your WidelAI plan at the model's published rate, so the same task costs the same in the CLI, the extension, the Mac app or the web.
| Plan | Price | Credits |
|---|---|---|
| Starter | $19/month | 2,000 per month |
| Pro | $49/month | 7,000 per month |
| Teams | $25/seat/month, 2-seat minimum | 3,000 pooled per seat per month |
Agent runs use more credits than a chat reply. Each tool round trip is a model request, and the context grows as the agent reads files. Set a budget with --budget, /budget or widelcode.budgetCredits. The server enforces the limit and stops the run when it is reached. Full plan details are on the pricing page.
Current Limits
This is a 0.1.0 preview, and these limits are worth knowing before you rely on it:
- No command sandbox on Windows yet. Commands still ask before they run, but nothing stops a command you approve from writing outside the project.
- The Linux sandbox needs bubblewrap. Without
bwrapinstalled, commands run unsandboxed and ask first. - Cloud runs are GitHub only.
- No JetBrains plugin. The extension covers VS Code and editors built on it.
- Preview releases can change. Settings and slash commands may still move before 1.0. The changelog on each registry page lists what changed.
For how WidelCode compares with Claude Code, Codex, Cursor and others, see the AI coding agents comparison.
Summary
The WidelCode CLI (npm install -g widelcode) and the VS Code extension (widelai.widelcode, on the Marketplace and Open VSX) bring the WidelAI coding agent to the terminal and the editor on macOS, Linux and Windows. Sign-in uses a browser device code, or a WIDELAI_TOKEN access token in CI. The defaults keep the agent in bounds: it asks before risky commands, runs them in a sandbox on macOS and Linux, works on a separate git branch, checkpoints every run, and runs a project's hooks only after you trust it. Your existing AGENTS.md, rules and .widelai/ setup apply unchanged, and a run costs the same credits in every client.
Install links and requirements for each package are on the download page.

Do your best AI work in one place
Bring your next question, draft, file, or idea to WidelAI. Choose the model that fits the moment, keep your work together, and stay in control of privacy and usage.
Leading models, one workspace
Use powerful AI models without juggling separate tabs, accounts, or workflows.
Switch without starting over
Change models as your work evolves while keeping the conversation and context together.
The right model for every task
Choose speed for everyday work or deeper reasoning for complex questions and decisions.
Clear credits and model rates
See your balance, understand each model’s rate, and track usage from one place.
Bring your files and images
Work with documents and images alongside your prompts in the same focused experience.
Your work stays yours
Your data is encrypted in transit and at rest, and your content is never used to train AI models.